Learn how to run cypress siding with professional results using this easy to follow, do it yourself procedure. Learn important differences in the lay out technique.
Cypress Siding: An exterior wall covering made from tapered lumber logged in swampy regions and fastened in a horizontal manner with each higher board lapping the one below it. It is relatively inexpensive, easy to work with, looks good, and has outstanding durability.
Prepare the Siding
Before the first board is nailed up, there are a number of steps that should be taken to reduce the overall difficulty for working with this type of wood siding. First of all, the lumber should be re- stacked. Cull out any boards with obvious defects. This can be quite a substantial percentage dealing with cypress. Be aware that although some boards may appear foul in nature, they may have at least some good in them.
Using a set of saw horses, apply a primer coat of quality exterior grade paint to as many pieces of lumber they will hold. Allow them to thoroughly dry and stack them again. If the paint is not completely dry, then there is a serious risk of the siding sticking together.
Lay Out Method for Cypress
Standard lay out procedures for most siding is much like laying out lines for shingles. For example, 8″ siding with a 7″ exposure needs a line popped on the wall every 7″ from the top of the bottom board of siding all of the way up. Cypress however is not uniform enough along the top of the board to do this. There is but one way to keep a true lay out with this type of material; mark each end each new run on a multiple of the exposure. In other words, if the siding is 5 1/2″ and has an exposure of 4″, then on each newly run row siding mark a multiple of 4″ and pop a line. This means that the siding must be completed one whole row at a time. After each row is finished, there must be a line popped by measuring from the bottom piece of siding a multiple of 4″. In other words, once each run of siding is nailed on, then there must be a mark made at each end of the horizontal run. Get this measurement from the bottom piece of siding every time. The sequence will look something like this: 4,8,12,16,20,24,28,32, and so on. This is very important; any attempt to follow a “scribed” lay out line, or to measure the exposure off each run will result in disappointment.
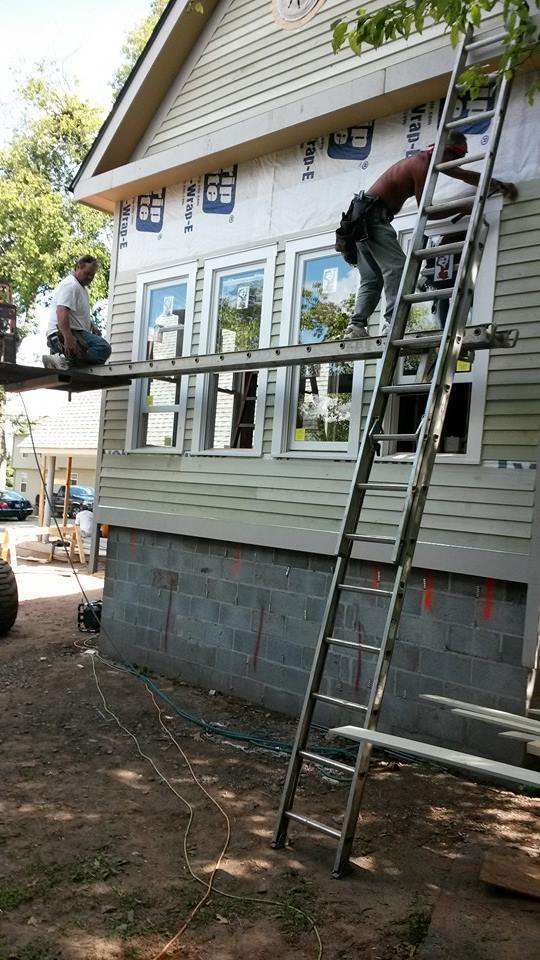
Use vertical lines on the wall to represent the center of each stud. Be sure to nail each board into every stud. Use a minimum of double dipped galvanized 8d nails. Stainless steel ring shank nails are the best although they are expensive.
Sawing Cypress Siding
Use three saw horses set about 4′ apart to support the flimsy boards. Be sure to check each piece of siding and continue the culling process. Always square one end and pull the measurements from that. A miter saw works great for boards less than 4′ long. It is feasible to set up a quality miter saw with a home made extended table to accommodate the long boards. This works most efficiently with the aid of another. if no one else is available then it it may be preferable to use a circular saw. In any case, set both types of saws up and use them at your discretion. Always use accurate lay out marks on the siding with a fine point pencil. Never saw past the marks; use a hacksaw blade, sonic crafter, or a sharp knife to finish off the cuts. The precision in an application of this nature must be within 1/16″.
Meet Building Codes
Each piece off lap siding must be joined by a bead of caulk on the outside and a strip of flashing on the inside according to 2012 IRC page 394.