Learn how to safely replace a damaged 6 x 6 post on a large building such as a dairy shelter or barn with this step by step documentation of an actual job.
The dairy operation is called Black Jack Ridge Dairy Farm. They milk around 500 cows around the clock. There outfit is so extensive, we find ourselves frequently doing work for them. They accommodate us well when we come. We will not have to worry about cows in the way or any other hindrance. The only thing different from other construction scenarios most of the time is the pungent odor from the animal waste. We try our best to keep ourselves and our tools as clean as possible whenever we work here,
Scott’s Framing Replaces a Broken Post
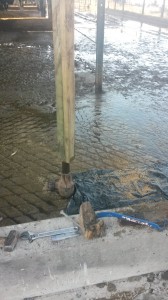
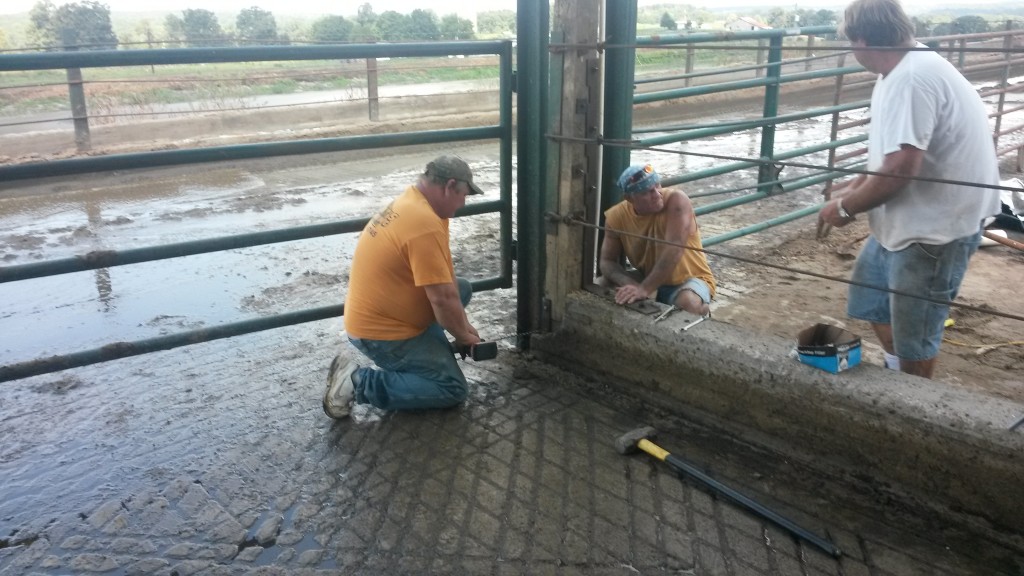
The first thing we did is scope out the situation. A large tractor had collided with a corner post on big shelter used for keeping dairy cows in the shade. The post was a 6 x 6 red oak about 14′ tall. The base was in concrete that served not only as a footing, but as wall for the spillway flooding system that removes waste from the cows. There are about six shelters in a row with about seventy cows in each shelter. There is a feeding apparatus down the long end of each shelter. There is a 3/4″ PVC pipe attached to the side of the post. There is a 14/2 gauge wire that feeds a large fan. There are two large steel brackets that hold a steel cable fencing system. There is significant damage to the post. It is lucky to still be supporting the weight of the roof. It is important to note that any time a post is being replaced on any structure, it is to be automatically considered as load bearing. In other words, whatever this post supports will come crashing down in the event of a failure. We want to avoid any catastrophic events at all costs so we will take extra care to support the load before any other work is performed. There are other concerns which could that must be considered as well. The wire we will deal with is also inherently dangerous so we decided to just kill power to the sector. The PVC pipe is not dangerous, but we sure do not want to have to repair something that could get complicated; especially if it gets broken off smooth with the the concrete from which it is protruding.  We used a mechanical railroad jack with a post on top of it to secure the load of the roof. The initial analysis revealed the roof had dropped about six inches before getting jammed. We got by with this simple prop because the load of the roof was low and the height of the post was not that much. Just remember that however slight the load is, it will fall quickly in the event of a failure and could end your life just as fast. So make sure its shored up well. Once the roof load is shored up to satisfaction, then it is safe to start removing the damaged post and other goods. We started by removing the fasteners that held the wire and the PVC pipe. We moved them out of the way as far as possible to reduce any chances of damage to them. Even though the post was not that tall (it was less than 12′), we elected to remove it in sections. I used a reciprocating saw to drop it in manageable sections about three feet long. Next came the much larger task of removing the gate and cable fencing hardware. This was a matter of loosening odd sized fasteners connected to all thread bolts and driving them out with whatever punches we could improvise. These bolts had washers and nuts on one side and protruded through a homemade bracket on the other side with another nut holding them fast. Once all of the hardware was removed, we decided to use a reciprocating saw to cut the post as close to is concrete footing as possible. In this case, it would have much more expensive for the owner of th
 e dairy farm for us to have sawed the concrete and removed the rest of the post. Next we drilled a 5/8″ hole about four inches deep and drove in a piece of 3/4″ solid steel rod we sawed to 8″ with a portable band saw. It would have been nice if we had enough room for a 2 x 6 scab about five feet long to insure the connection between the two sections.
Next we made some careful adjustments to the jack and replaced the post. It was a little tricky getting it slide over the protruding steel rod. We nailed the post into the roof beam a the top and reattached the 45º brace.
Finally we drilled holes for the cable fastening hardware and bolted all of that back on. There were turnbuckles on the other end of the cables for tension; so we used them to tighten the cables back up. We fastened the PVC pipe and electric wire back to the new 6 x 6 post and cleaned up our mess.

